MERN環境構築

MERN環境構築編
目次
- 参考動画
- 環境構築
今回からMERNスタックについて書いていきます。
MERNとは
- MongoDB
- Express
- React
- Node
の略です。これらを使用して簡単なアプリケーションを作っていきます。
今回学習に使用させていただいた動画がこちら
Full Stack MERN Project - Build and Deploy an App | React + Redux, Node, Express, MongoDB [Part 1/2]
Full Stack MERN Project - Build and Deploy an App | React + Redux, Node, Express, MongoDB [Part 2/2]
MERNについては英語の記事多め、動画もUdemyも英語ばっかり
自分自身もUdemyに日本語対応している講座がなくて、この動画を見て勉強させてもらいました。
この動画を見ながらGoogle先生が翻訳して字幕を出してくれるのですが・・・
んーわからない!
それでもなんとかアプリ自体は作れましたので
自分の備忘録として何回かに渡って進め方を書いていこうと思います。
英語にアレルギーがある方はぜひ参考にしていただければと思います。
まあ余裕っしょって方は上記の動画を参考に
今回作成していくもの

環境構築
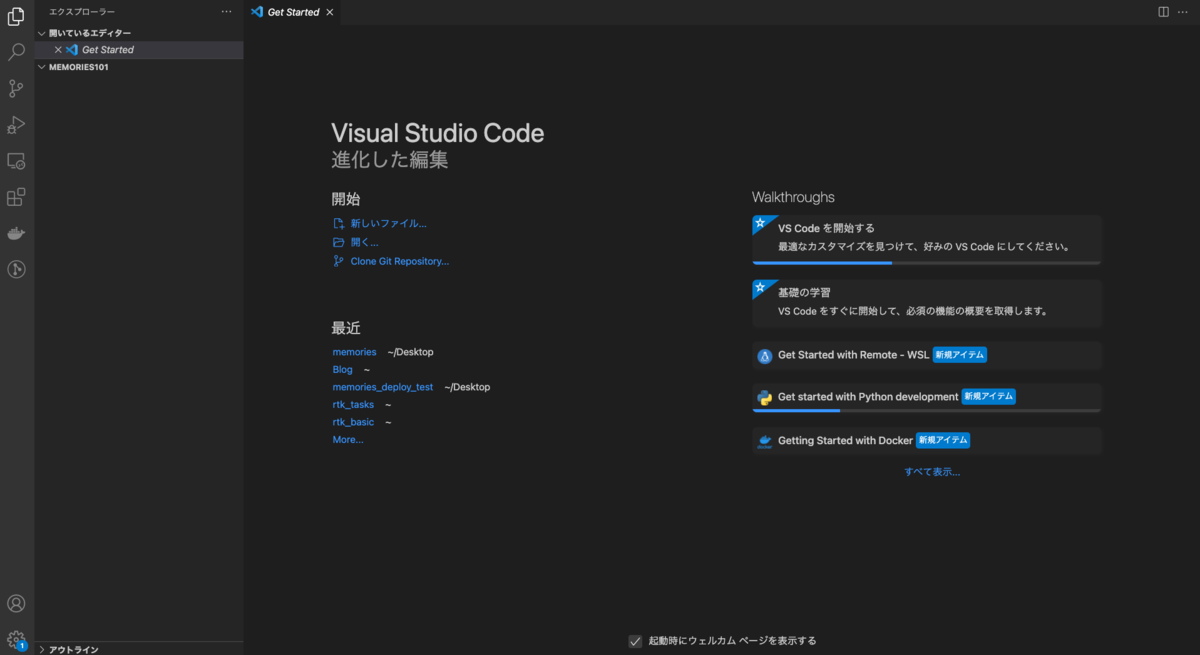
まずは任意の場所にフォルダーを作成します。
今回はデスクトップに「memories101」というフォルダーを作成し、vscodeでそのフォルダーを開きます。
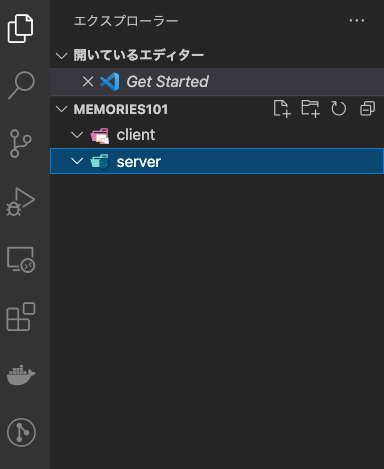
クライアント用とサーバー用にターミナルを二つ開きます。
memories101直下にclientディレクトリ、serverディレクトリを作成します。
先ほど開いたターミナルでそれぞれのディレクトリに移動します。
% cd client
% cd server

client側でReactをインストールします。
前提としてNode.jsのLTSをインストールしといてください。
% npx create-react-app ./

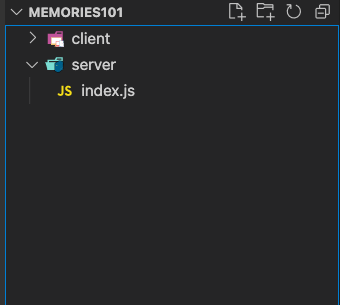
serverディレクトリ直下にindex.jsファイルを作成します。
serverディレクトリにpackege.jsonを作成します。
% npm init -y
そのままserverディレクトリで必要なパッケージをインストールしていきます。
% npm install body-parser cors express mongoose nodemon
インストールが終了したらserver側のpackage.jsonを以下に書き換えます。
server/package.json
{
  "name": "server",
  "version": "1.0.0",
  "description": "",
  "main": "index.js",
  "type": "module",
  "scripts": {
    "start": "nodemon index.js"
  },
  "keywords": [],
  "author": "",
  "license": "ISC",
  "dependencies": {
    "body-parser": "^1.19.1",
    "cors": "^2.8.5",
    "express": "^4.17.2",
    "mongoose": "^6.2.0",
    "nodemon": "^2.0.15"
  }
}
server/index.jsに以下を追記しimportします。
server/index.js
import express from 'express'
import bodyParser from 'body-parser'
import mongoose from 'mongoose'
import cors from 'cors'
client側のターミナルに戻り必要なパッケージをインストールしていきます。
% npm install axios moment react-file-base64 redux redux-thunk
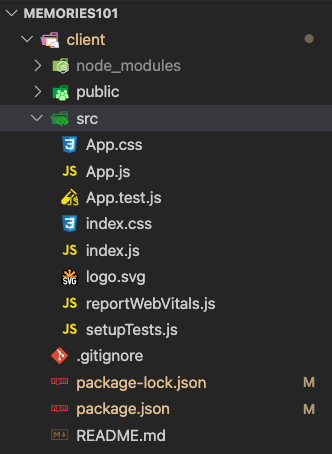
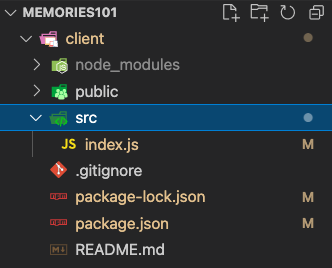
create-react-appで作成されたsrcディレクトリにはいろいろなものが含まれていますが、使用しないものが多々あるので一旦これを削除し、新しくsrcディレクトリを作成します。
新たに作成したsrc直下にindex.jsファイルを作成します。
client/src/index.js
import React from 'react'
import ReactDOM from 'react-dom'

import App from './App'

ReactDOM.render(<App />, document.getElementById('root'))
同階層にApp.jsを作成します。
client/src/App.js
import React from 'react';

const App = () => {
  return (
    <div>App</div>
  );
};

export default App;
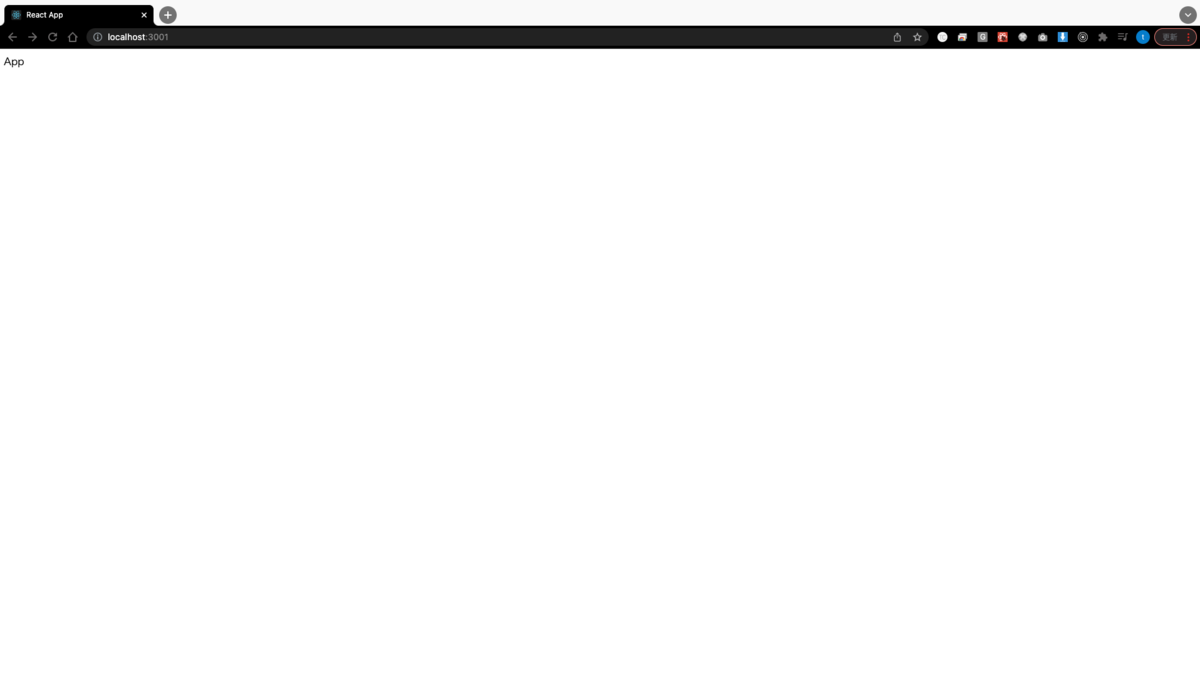
clientディレクトリのターミナル
% npm start
こんな画面が表示されます。
続いてサーバー側のセットアップをしていきます。
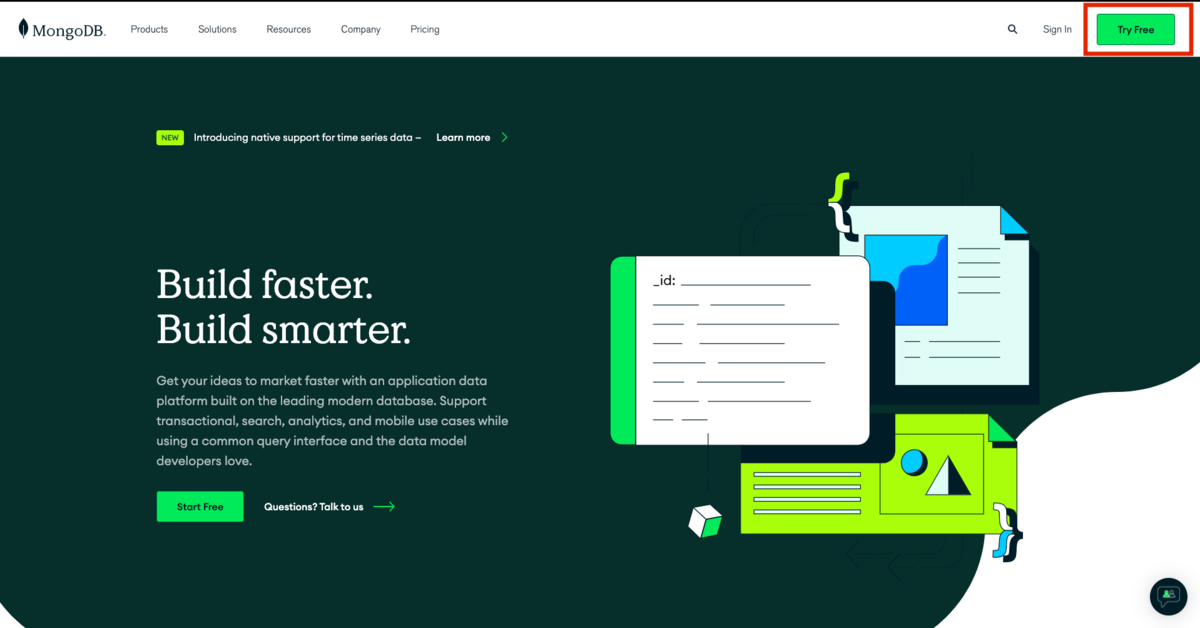
今回DBはmongoDB Atlasを使用していきます。
まずはDBを作成していきます。
mongodb.comにアクセスし、Try Freeをクリック
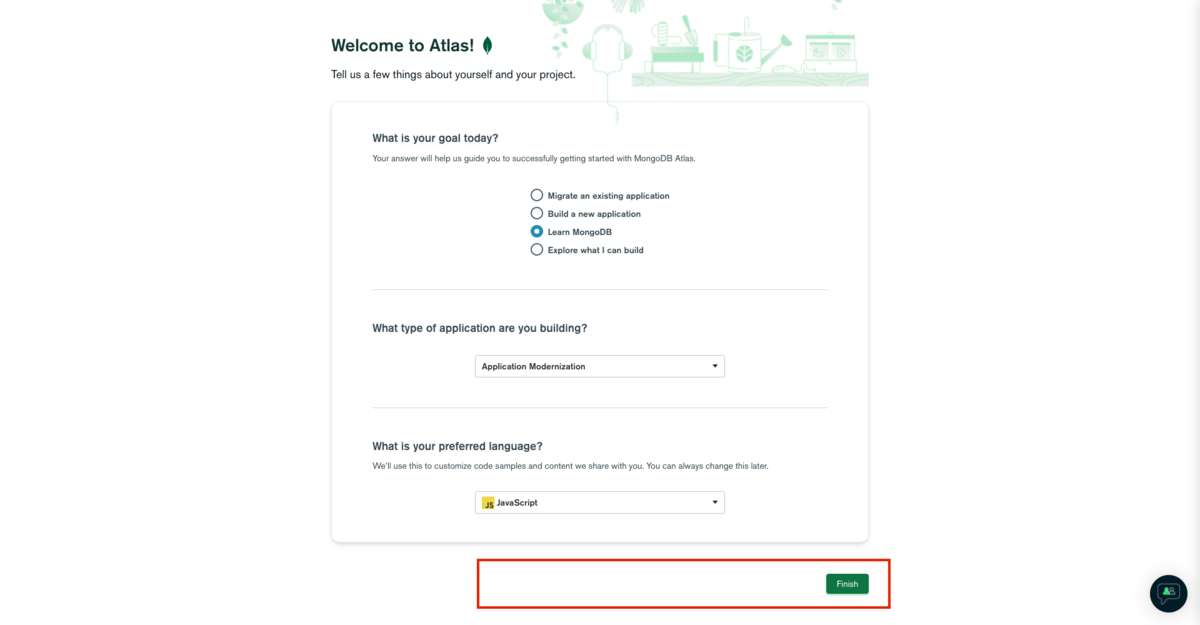
使用目的っぽいアンケートをテキトーに埋める
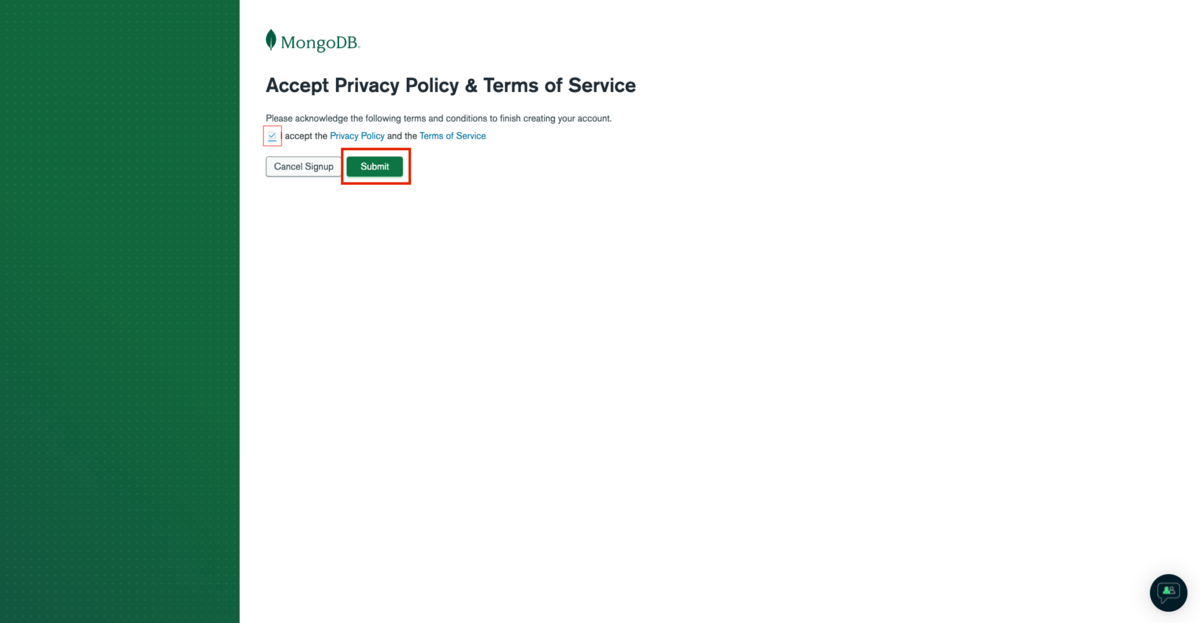
プライバシーポリシーと規約に同意してsubmit
sharedというのが無料なので、これを選択し、Create Cluster

3~5分くらいかかるよーと言われるので

その間にDB使用ユーザーを作成する
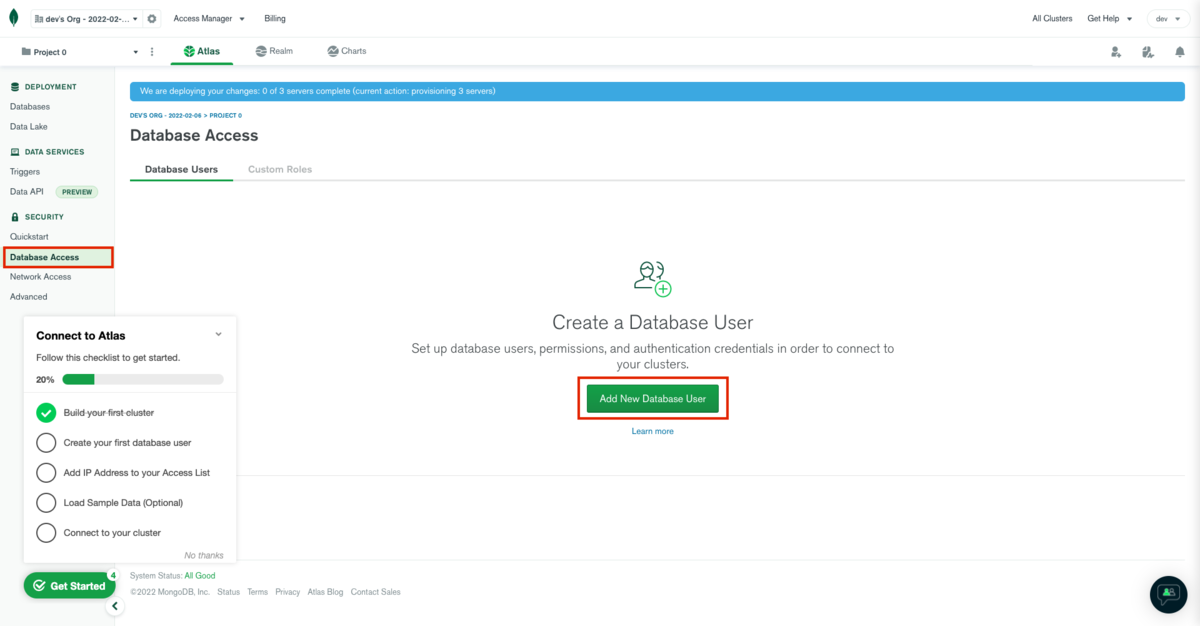
左のメニューバーのDatabase Accessをクリック
Add New Database Userをクリック
赤枠上段に任意のユーザー名、下段にパスワードを入力する。
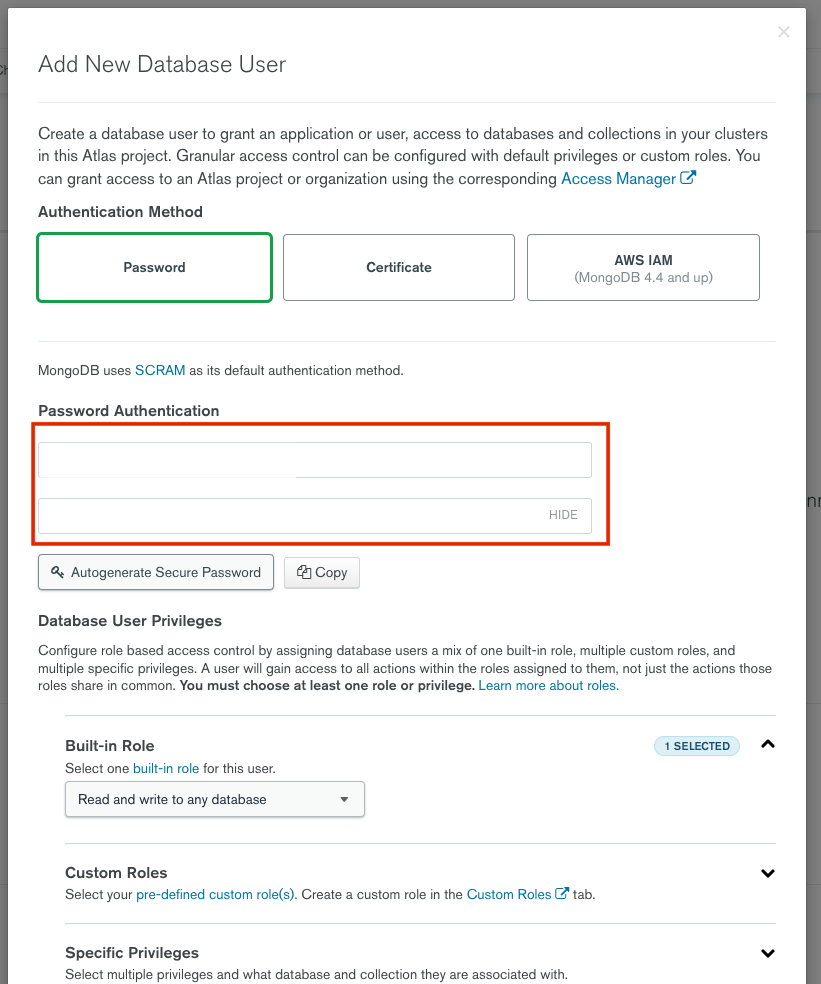
Add Userをクリック

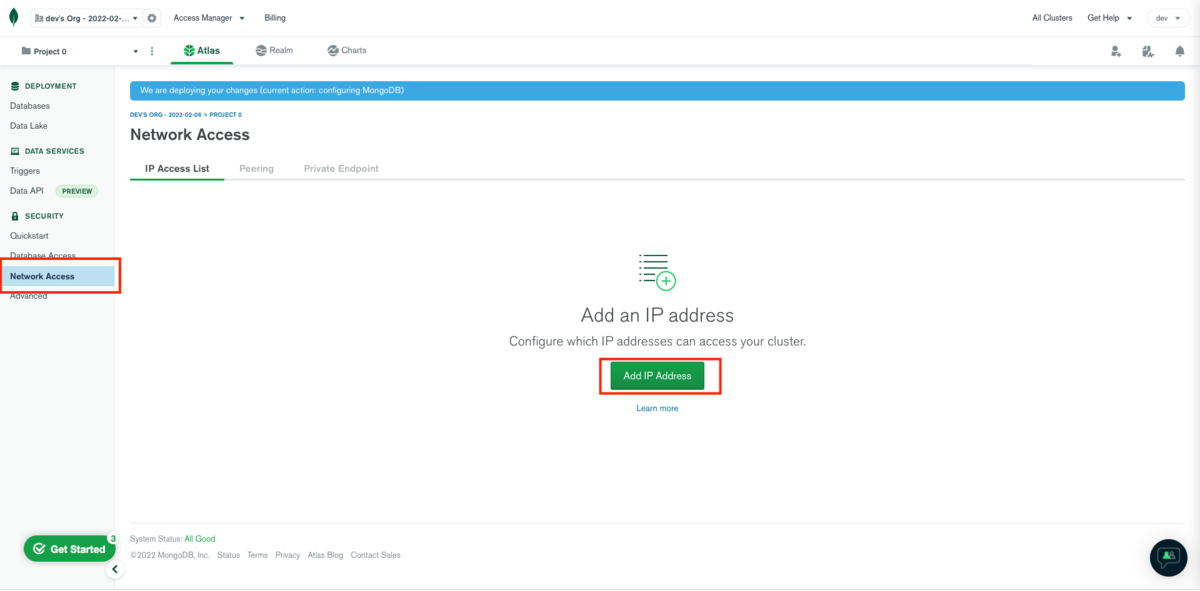
次にネットワークを追加します。
左のメニューバーのNetwork Access→Add IP Address
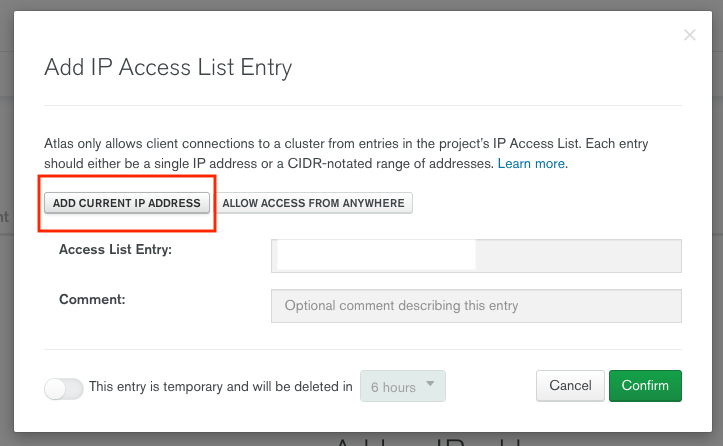
Add Current IP Address
Access List Entryという部分に自動でIPが入力されるので、confirm
ここがpendingになって

Active

左のメニューバーのDatabases→Connect→Connect Your Application
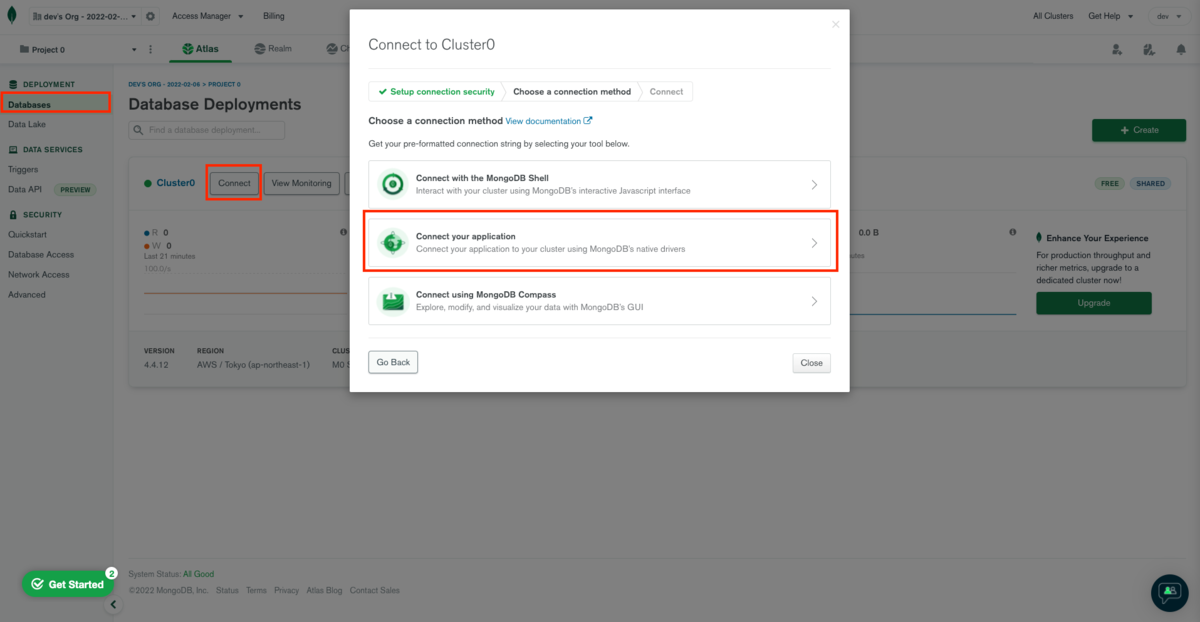
Copy

server/index.jsを編集
server/index.js
import express from 'express'
import bodyParser from 'body-parser'
import mongoose from 'mongoose'
import cors from 'cors'

const app = express()

app.use(bodyParser.json({limit: '30mb', extended: true}))
app.use(bodyParser.urlencoded({limit: '30mb', extended: true}))
app.use(cors())

//先ほどコピーしてきたものをここにペースト
const CONNECTION_URL = "mongodb+srv://ユーザー:パスワード@cluster0.mjyb6.mongodb.net/myFirstDatabase?retryWrites=true&w=majority"
const PORT = process.env.PORT || 5001

mongoose.connect(CONNECTION_URL, { useNewUrlParser: true, useUnifiedTopology: true})
  .then(() => app.listen(PORT, () => console.log(`Server running on port ${PORT}`)))
  .catch((error) => console.log(error.message))
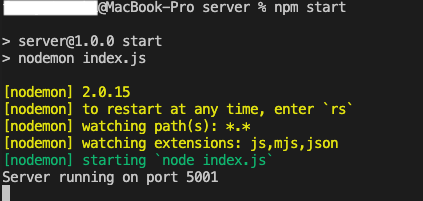
ターミナルのserverディレクトリで
% npm start
Server running on port 5001と表示されれば正常にDBと接続できています。
これで基本的な環境構築はできました。
次回からは本格的にコードを書き始めます。
今回はここまで
続きは次回!
それではまた!